 |
| Place of Origin: | America |
| Brand Name: | TYCO |
| Certification: | CE |
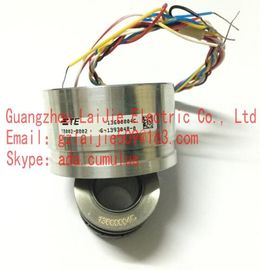
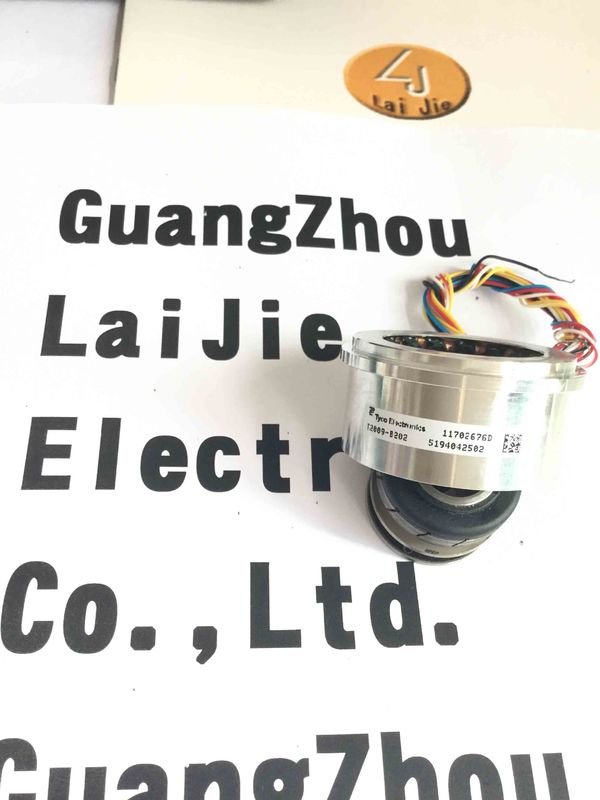
| Model Number: | V23401-D1008-B114 |
| Minimum Order Quantity: | 1pcs |
|---|---|
| Packaging Details: | carton |
| Delivery Time: | in stock |
| Payment Terms: | T/T, Western Union, MoneyGram |
| Supply Ability: | 10000pcs |
| TYCO: | TYCO | Material: | Iron |
|---|---|---|---|
| Color: | Black | V23401-D1008-B114: | V23401-D1008-B114 |
| Wire: | Wires | Temperature: | -20-150 |
Guang Zhou Lai Jie Electric Co.,LTD
Please contact with “Tommy” for the price
V23401-D1008-B114
V23401-D1001-B101
V23401-D1001-B102
V23401-D1008-B114
V23401-D1008-B122
V23401-D1008-B101
V23401-D1008-B102
V23401-D1009-B114
V23401-D1009-B122
V23401-D1009-B101
V23401-D1009-B102
V23401-S1001-B122
V23401-S1001-B101
V23401-S1001-B109
V23401-S1001-B110
V23401-T1002-B114
V23401-H1002-B114
V23401-T1002-B122
V23401-H1002-B101
V23401-T1002-B102
V23401-H1002-B102
V23401-T1005-B114
V23401-H1005-B114
V23401-T1005-B122
V23401-H1005-B122
V23401-T1005-B101
V23401-H1005-B101
![]()
![]()
![]()
A changed VB script that is connected with "Menus and toolbars" is only updated after Runtime is restarted. If you change the properties of "Menus and toolbars" in Runtime, the changes are only applied in the following cases: ● After a picture change, if the configuration change does not affect the basic picture. ● When you load another configuration file and reload the modified configuration file.
In each picture, a menu is placed at the top margin. You can configure one menu bar for each configuration file.
The configuration options for a menu element depend on the position where the menu is located in the menu structure. The following picture shows a typical menu structure with different menu elements:
| Represents a menu bar | |
| Displays a menu item. You can add menu commands, separators or other menu items (as sub-menus) in a menu item. | |
| Represents a menu command. |
The menu structure is yet to be planned. ● The Menus and Toolbars editor is open. ● The tab "Menus" is displayed.
Add the required number of menu elements.
Assign the menu elements to the desired hierarchy levels. Enter a Name and a Text for each menu element.
For each menu element, select a procedure that is run while clicking a menu element. Enter, if required, a transfer parameter for the procedure under "User data".
Define, if required, for each element whether it is "visible" or "active" during runtime and whether an authorization to operate is necessary.
While configuring a multi-lingual user interface, select the desired target language and enter the Texts for the menu elements.
You can configure any number of tools for each configuration file. For each toolbar you can define the placement position of the toolbar in the picture. Further, you can also define whether the user should have the option of freely placing the toolbar.
To add a new toolbar, select the "Edit > Add Toolbar" command. 2. Enter a Name and a Text for each toolbar. 3. Select an "Alignment" and the "Mode" and define the "Masking color", if required. 4. Define, if required, whether the toolbar is "visible or "active" during runtime and whether an authorization is required for operation. 5. To add a new icon to the toolbar, select the "Edit > Add Toolbar element" command. 6. Configuring the icon: – Depending on the toolbar configuration, enter a text for the icon and/or select a picture. – If required, also enter a tooltip text that is to be displayed at runtime as help for the icon. – For the icon, select the procedure that is to be run when the icon is clicked. Under "User data" enter a transfer parameter for the procedure. – Define, if required, whether the icon is "visible or "active" during runtime and whether an authorization is required for operation. 7. Select "File > Save" to save the configuration. Select "File > Save As" to save the configuration under a new name.