 |
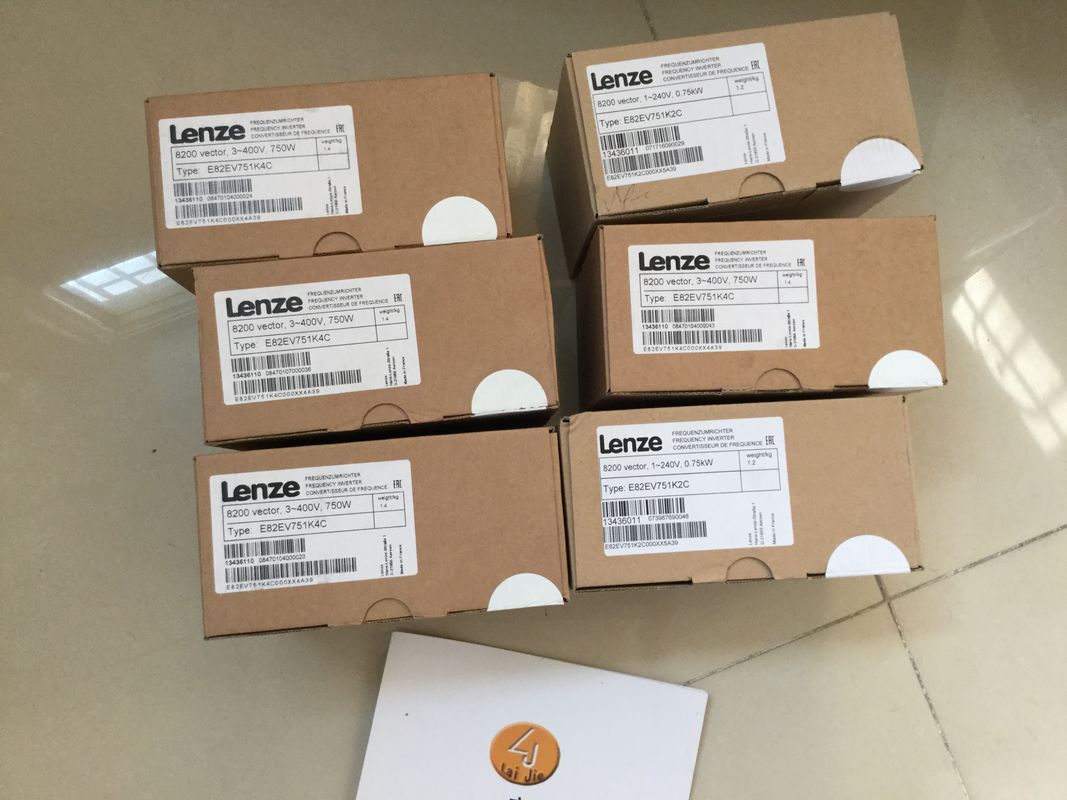
| Place of Origin: | Germany |
| Brand Name: | LENZE |
| Certification: | CE |
| Model Number: | E82EV552k2B |
| Minimum Order Quantity: | 1pcs |
|---|---|
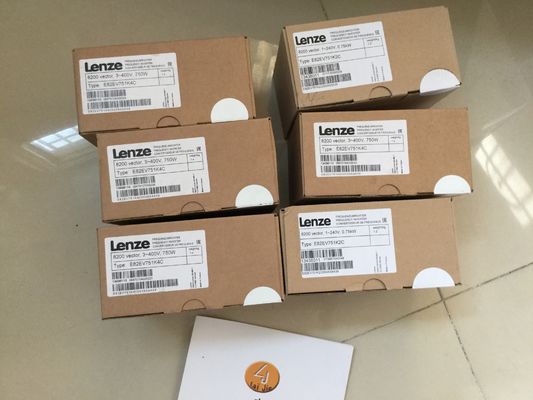
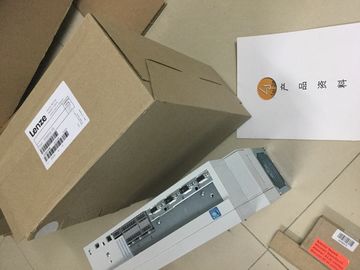
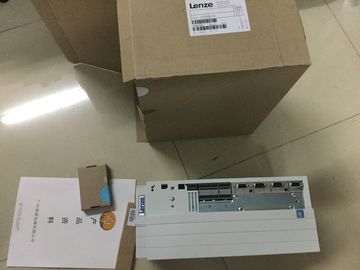
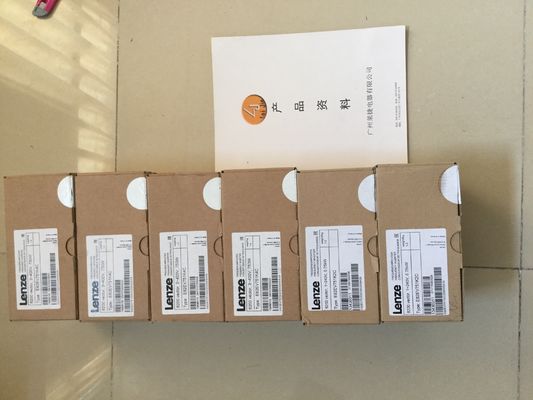
| Packaging Details: | carton |
| Delivery Time: | in stock |
| Payment Terms: | T/T, Western Union, MoneyGram |
| Supply Ability: | 100pcs/week |
| LENZE: | LENZE | E82EV552k2B: | E82EV552k2B |
|---|---|---|---|
| Germany: | Germany | Material: | Iron |
| Temperature: | 20-90 | Color: | Black |
| Wire: | Wire | Dimension: | 80mm |
![]()
![]()
![]()
![]()
| SIMATIC STEP 7 Professional V13 ● SIMATIC WinCC Advanced V13 or SIMATIC WinCC Professional V13Connectible wire |
Without wire end ferrule 0.25 to 2.5 mm2 0.25 to 1.5 mm2 1.5 mm2 AWG* |
| cross-sections for solid wires — up to 0.25 mm2 — — AWG* |
With wire end ferrule 0.25 to 2.5 mm2 0.25 to 1.5 mm2 1.5 mm2 AWG* |
| Connectible wire cross-sections for |
Number of wires per connection 1 1 or a combination of 2 cables up to 1.5 mm2 |
(total) in the same wire
end ferrule
1
Length of stripped wires 10 to 11 mm 10 to 11 mm 7 to 8 mm
End sleeves
according to
DIN 46228
Without plastic sleeve Design A, 10 mm
long
Design A, 10 mm and
12 mm long
Design A, 7 mm long
with plastic sleeve 0.25
to 1.5 mm2
Design E, 10mm long Design E, 10 mm and
12 mm long
Design A, 7 mm long
Sheath diameter — — 8.5 mm
Tool 3 to 3.5 mm Phillips
screwdriver, conic
design
3 to 3.5 mm Phillips
screwdriver, conic design
3 to 3.5 mm Phillips
screwdriver, conic
design
Connection method Push-in terminal Screw terminal Screw terminal
Tightening torque — from 0.4 Nm to 0.7 Nm from 0.5 Nm to 0.6
NmConnect the mains cable in the plug according to the connection diagram.
You will find information on which voltage the plug is approved for on the side of the plug.
You select the voltage by inserting the coding element accordingly on the back of the
plugIf you want to supply the load groups with the same potential (non-isolated), use the potential
circuit bridges supplied for the front connector. This means that you avoid having to wire a
clamping unit with two wires.
Tip
Use the terminals 40 (M) and 39 (L+) on the front connector to loop the potential to the next
module.Insert the front connector into the pre-wiring position. There is no electrical connection
between the front connector and the module in the pre-wiring position.Use terminals 40 (M) and 39 (L+) from the digital input module to feed the supply voltage
DC 24 V from the digital input module to terminals 20 (M) and 19 (In this step you set the IP address and the subnet mask for the CPU.
Procedure
1. Navigate to "Settings".
2. Select "Addresses".
3. Select the interface "X1 (IE/PN)".
4. Select the menu item "IP Addresses".
5. Set the IP address 192.168.0.10.
6. Press the "right" arrow key on the module.
7. Set the subnet mask 255.255.255.0.
8. Press the "down" arrow key on the module to select the menu item "Apply" and confirm
the setting with "OK"
Result
You have now assigned an IP address and the subnet mask for the interface "X1 (IE/PN)".The Totally Integrated Automation Portal, referred to as TIA Portal in the following, offers all
the functions you need for implementing your automation task assembled in a single, crosssoftware
platform.
The TIA Portal is the first shared working environment for integrated engineering with the
various SIMATIC systems made available within a single framework. The TIA Portal
therefore also enables reliable, convenient cross-system collaboration for the first time.
All required software packages, from hardware configuration and programming to
visualization of the process are integrated in a comprehensive engineering frameworkThe following features provide efficient support during the realization of your automation