 |
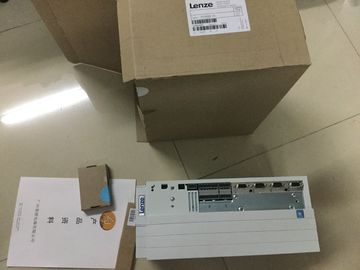
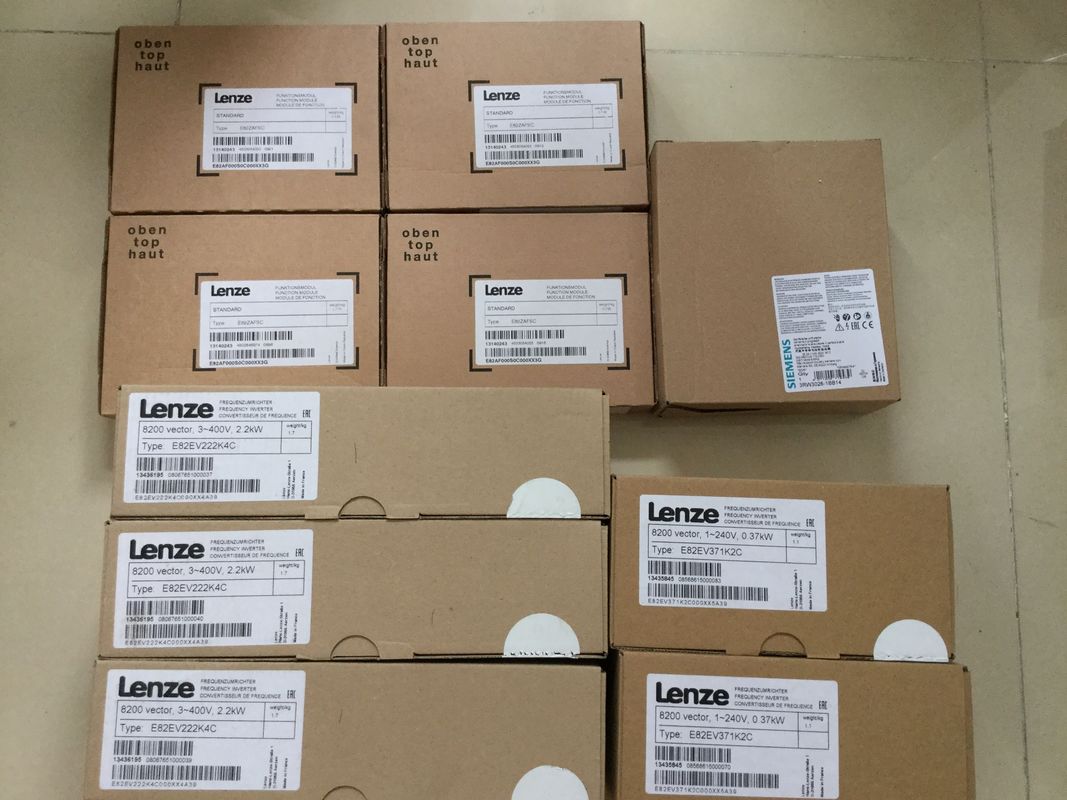
| Place of Origin: | GERMANY |
| Brand Name: | LENZE |
| Certification: | CE |
| Model Number: | E82ZAFAC001 |
| Minimum Order Quantity: | 1pcs |
|---|---|
| Packaging Details: | carton |
| Delivery Time: | in stock |
| Supply Ability: | 100pcs/week |
| LENZE: | LENZE | Germany: | Germany |
|---|---|---|---|
| E82ZAFAC001: | E82ZAFAC001 | Color: | Black |
| Temperature: | 20-90 | Wire: | Wire |
| Dimension: | 80mm | Material: | Iron |
![]()
![]()
![]()
![]()
| basic stepsTo implement the hardware section of this Getting Started, you will need: ● 1 × CPU 1511-1 PN (6ES7511-1AK00-0AB0) |
|
| 1 × digital input module DI 16x24VDC SRC BA (6ES7521-1BH50-0AA0) | |
| 1 × digital output module DQ 16x24VDC/0.5A ST (6ES7522-1BH00-0AB0) ● 2 × Front connectors (6ES7592-1AM00-0XB0) |
1 × Ethernet cable
The hardware mentioned above is also part of the following starter package:
Starter package with software: 6ES7511-1AK00-4YBThe automation system in plants or systems is governed by specific standards
and regulations, based on the relevant field of application. Please observe the applicable
safety and accident prevention regulations such as IEC 60204-1 (general machine safety
requirements).
Failure to observe these regulations can result in serious injuries and damages to
machinery and facilities.Connectible wire cross-sections for solid wires — up to 0.25 mm2 —
— AWG*
: 24 —
Connectible wire
cross-sections for
stranded wires
Without wire end ferrule 0.25 to 2.5 mm2 0.25 to 1.5 mm2 1.5 mm2
AWG*
: 24 to 16 AWG*
: 24 to 16 AWG*
: 16
With wire end ferrule 0.25 to 2.5 mm2 0.25 to 1.5 mm2 1.5 mm2
AWG*
: 24 to 16 AWG*
: 24 to 16 AWG*
: 16
Number of wires per connection 1 1 or a combination of 2
cables up to 1.5 mm2
(total) in the same wire
end ferrule
1
Length of strped wires 10 to 11 mm 10 to 11 mm 7 to 8 mm
End sleeves
according to
DIN 46228
Without plastic sleeve Design A, 10 mm
long
Design A, 10 mm and
12 mm long
Design A, 7 mm long
with plastic sleeve 0.25
to 1.5 mm2
Design E, 10mm long Design E, 10 mm and
12 mm long
Design A, 7 mm long
Sheath diameter — — 8.5 mm
Tool 3 to 3.5 mm Phills
screwdriver, conic
design
3 to 3.5 mm Phills
screwdriver, conic design
3 to 3.5 mm Phills
screwdriver, conic
design
Connection method Push-in terminal Screw terminal Screw terminal
Tightening torque — from 0.4 Nm to 0.7 Nm from 0.5 Nm to 0.6
Nm
* AWG: American Wire Gauge2. Connect the mains cable in the plug according to the connection diagram.
You will find information on which voltage the plug is approved for on the side of the plug.
You select the voltage by inserting the coding element accordingly on the back of the
plugIf you want to supply the load groups with the same potential (non-isolated), use the potential
circuit bridges supplied for the front connector. This means that you avoid having to wire a
clamping unit with two wires.
T
Use the terminals 40 (M) and 39 (L+) on the front connector to loop the potential to the next
module. Use terminals 40 (M) and 39 (L+) from the digital input module to feed the supply voltage
DC 24 V from the digital input module to terminals 20 (M) and 19 (L+).Connect the terminals 30 and 40, as well as 29 and 39 to each other.For strain relief, run the cable tie around the cable harness and pull tight.3. Move the front connector from the pre-wiring position to its final position. By doing this,
you create an electrical connection between the front connector and the moduleYou turn on the CPU for the first time in this section.
2.4.2 Power on
Procedure
1. Insert mains connection plug of the load current supply (The Totally Integrated Automation Portal, referred to as TIA Portal in the following, offers all