 |
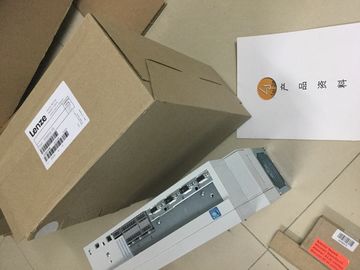
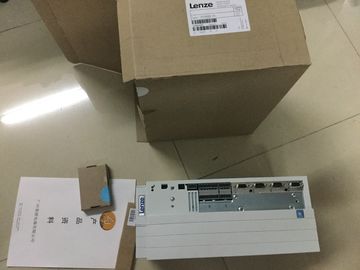
| Place of Origin: | GERMANY |
| Brand Name: | LENZE |
| Certification: | CE |
| Model Number: | E82ZAFPC001 |
| Minimum Order Quantity: | 1pcs |
|---|---|
| Packaging Details: | carton |
| Delivery Time: | in stock |
| Payment Terms: | T/T, Western Union, MoneyGram |
| Supply Ability: | 100pcs/week |
| LENZE: | LENZE | E82ZAFPC001: | E82ZAFPC001 |
|---|---|---|---|
| GERMANY: | GERMANY | Material: | Iron |
| Color: | Black | Temperature: | 20-90 |
| Dimension: | 80mm | Wire: | Wire |
![]()
![]()
![]()
![]()
| Check whether the data is correct in the detail view. You can cannot sort error texts in the detail view |
In PROFIBUS, the numbers assigned by Profibus are used as identification (DP station number). |
| The matrix view is only available for master systems. The matrix view shows the status of | The IO devices are numbered consecutively from 1 in PROFINET.You add a system diagnostics view to your project to get an overview of all devices available |
| the subdevices of the master system. | n your plant. Requirements |
n your plant.
Requirements
CPU has been created.
● The Inspector window is open.
Procedure
1. Double-click the "Diagnostics" HMI screen.. Double-click the "System diagnostics view" object in the "Tools" task card. The object is
added to the screen.3. Select "Properties > Properties > Columns > Devices/Detail view" in the Inspector
window.
4. Enable the columns that you require in the device view for Runtime, for example, State,
Name, Slot.
5. Enable the columns that you require in the detail view for Runtime, for example, State,
Name, Higher level designation.
6. Enable the columns that you require in the diagnostics buffer view, for example: State,
Name, Rack.
7. If necessary, adapt the headers to the columns.
8. Enable "Properties > Properties > Layout > Column settings > Columns moveable" to
move the columns in Runtime.
9. You can change the column headers under "Properties > Properties > Column headers",
if necessaryYou can use the simulator to test the performance of your configuration on the configuration
PC. This allows you to quickly locate any logical configuration errors before productive
operation.
You can start the simulator as follows:
● In the shortcut menu of the HMI device or in a screen: "Start simulation"
● Menu command "Online > Simulation > [Start|With tag simulator|With scrt debugger]"
● Under "Visualization > Simulate device" in the portal view.
Requirement
The simulation/runtime component is installed on the configuration PC.You can use the simulator to test the following functions of the HMI system, for example:
● Checking limit levels and alarm outputs
● Consistency of interrupts
● Configured interrupt simulation
● Configured warnings
● Configured error messages
● Check of status displaysYou simulate the HMI project on your computer.
Procedure
1. Start the simulation of the HMI deviceA connection to the CPU is established and the color mixing system is displayed in the
simulation.
Open the "Reces" screen and select a color.. Specify the number of cans and view the selected color. You can query the current CPU status in the "Diagnostics" screenYou can create a new station including the actual values from the hardware configuration
and the user program.
Procedure
1. Open the dialog for loading from the CPU.Select the interface with which the programming device is connected to the CPU. The
search for accessible nodes starts automatically.
3. Load the CPU in the project.The hardware and software configuration of the CPU are loaded into the project. The project
now contains, for example, program blocks and tags. In this section, you will learn about the benefits of team engineering and how to create the
required CPU data for an HMI project engineer. As an HMI project engineer, you will learn
how to use this CPU data in your project.
Distributed configuration
You can use "Inter Project Engineering" to develop the user program and user interface in
parallel at different locations. The HMI project engineer requires no CPU user program.
There is no need for a STEP 7 installation.
Only tags, blocks, messages and address information of the CPU interfaces are ultimately
relevant for the connection of an HMI device to a CPU. The programmer can conveniently
export this data to an E file, which is imported into the project by the HMI developer.
Updates are possible at any time by transferring a new E file.
The data are consistent after loading to the CPU and HMI device. The connections to the
CPU created in the HMI configuration remain up-to-date.
Note
You can integrate the new Basic Panels 2nd Generation and Comfort Panels to STEP 7
projects as of V5.4 SP3 with an import into the TIA Portal. You want to use a compact HMI device to display of fill levels directly at the paint mixing
plant. You hire an engineering firm for the visualization and the provide the required CPU