 |
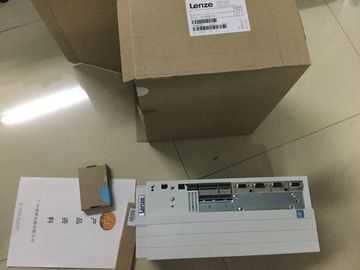
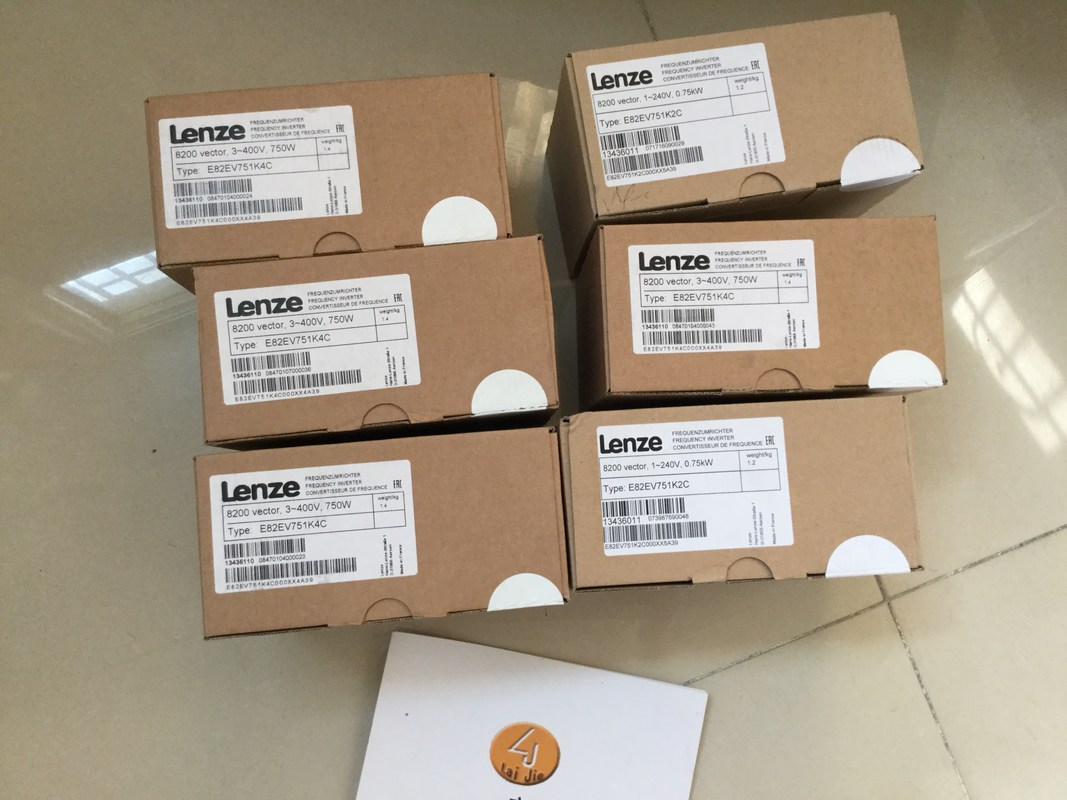
| Place of Origin: | Germany |
| Brand Name: | LENZE |
| Certification: | CE |
| Model Number: | E82EV152K4C |
| Minimum Order Quantity: | 1pcs |
|---|---|
| Packaging Details: | carton |
| Delivery Time: | in stock |
| Payment Terms: | T/T, Western Union, MoneyGram |
| Supply Ability: | 100pcs/week |
| LENZE: | LENZE | E82EV152K4C: | E82EV152K4C |
|---|---|---|---|
| Germany: | Germany | Material: | Iron |
| Color: | Black | Temperature: | 20-90 |
| Dimension: | 80mm | Wire: | Wire |
![]()
![]()
![]()
![]()
| Main switch Disconnector Short-circuit and overload protection: In groups for sensors and actuators |
Load power supply for AC load circuits with more than five items of electromagnetic equipmenton |
| Single-pole protection of circuits • With grounded secondary circuit: Singlepole |
In the redundant System R/H, there is electrical isolation between: ● The communication interfaces (PROFINET) of the R-CPU and all other circuit components |
| protection • Otherwise: All-pole protection |
The communication interfaces (PROFINET) of the H-CPU and all other circuit components |
High-frequency interference currents are conducted and electrostatic charges are avoided
through integrated RC combinations or integrated capacitors.
R/H potentials
The figure below is a simplified diagram of potentials in the R/H redundant system.Use suitable cables to connect the R/H redundant system. The tables below set out
the wiring rules for the R/H-CPUs, system power supply, and load power supplyYou must select sufficiently large wire cross-sections to ensure that the permissible cable
temperatures are not exceeded at the maximum ambient temperature of the redundant
system R/H.
Example of power supply
At an ambient temperature of 40° C, a current of, for example, 4 A per wire and a crosssection
of 1.5 mm² Cu, a connecting conductor must be rated for a temperature range of at
least 70° C① + 24 V DC of the supply voltage
② Mass of the supply voltage
③ Mass of the supply voltage for looping (current limited to 10 A)
④ + 24 V DC of the supply voltage for looping (current limited to 10 A)
⑤ Spring opener (one spring opener per terminal)
Figure 5-3 Connection for supply voltage
The cable connector enables you to loop the supply voltage uninterrupted, even when it is
unplugged.
Requirements
● Only wire the connection plug when the supply voltage is turned off.
● Follow the wiring rules (Page 114).
Tool-free connection of cables: multi-wire (stranded), with end sleeve or ultrasonic compressed
To connect a wire without tools, follow these steps:
1. Strip 8 to 11 mm of the wires.
Seal or crimp the wire with end sleeves.
3. Insert the cable into the push-in terminal as far as it will go.
4. Push the wired connector into the socket of the CPU.To connect a wire without end sleeve, follow these steps:
1. Strip 8 to 11 mm of the wires.
2. Press the screwdriver into the spring release. Insert the cable into the push-in terminal as
far as it will go.
3. Pull the screwdriver out of the spring release.
4. Push the wired connector into the socket of the CPU.
Loosening a wire
To unplug a wire, follow these steps:
1. Push with the screwdriver as far as it will go into the spring release.
2. Remove the wire from the push-in terminal.
Uninstalling the connection plug
With the screwdriver, pry the connector out of the CPU.In the delivery condition of the system power supplies/load current supplies, power
connectors are inserted. The modules and the associated power connectors are coded.
There are two parts to the coding element. One coding element is located in the module, and
the other in the power connector. The system power supplies/load current supplies use
identical power connectors for the voltage connection.
The coding element prevents the insertion of a power connector into a different type of
system power supply/load current suppTo connect the supply voltage, follow these steps:
1. Swing the front cover of the module up until the front cover latches.
2. Press down the unlocking button of the power cable connector (Figure 1). Remove the
power cable connector from the front of the module.
3. Loosen the screw on the front of the connector. This loosens the housing latch and the
cable relief. With a tightened screw the connector's cover can't be removed (Figure 2).
4. Pry off the connector cover using a suitable tool (Figure 3).5. Strip the cable sheathing to a length of 35 mm. Strip the wires to a length of 7 to 8 mm.
Attach the end sleeves.
6. Connect the wires in the connector according to the connection diagram (Figure 4).
7. Close the cover (Figure 5)You can find more information on connecting the 24 V DC output voltage of the load power
supply in the manuals for the relevant modules.
5.7 Connecting the CPU to the load power supply
Introduction
The load power supply is fitted with a plug-in 24 V DC output terminal (behind the front cover
at the bottom). You connect the cables for the supply voltage to the CPU at this terminal.