 |
| Place of Origin: | GERMANY |
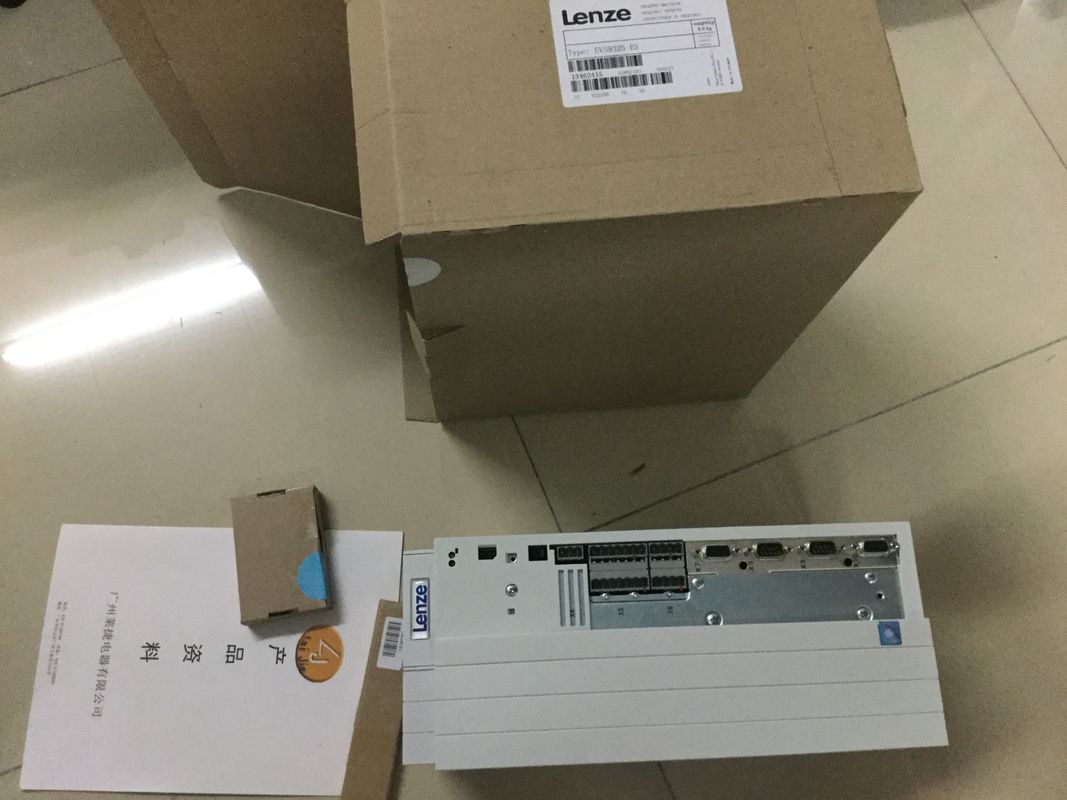
| Brand Name: | LENZE |
| Certification: | CE |
| Model Number: | EVS9329-EK |
| Minimum Order Quantity: | 1pcs |
|---|---|
| Packaging Details: | carton |
| Delivery Time: | in stock |
| Payment Terms: | T/T, Western Union, MoneyGram |
| Supply Ability: | 100pcs/week |
| LENZE: | LENZE | EVS9329-EK: | EVS9329-EK |
|---|---|---|---|
| Material: | Iron | Color: | Black |
| Temperature: | 20-90 | Wire: | Wire |
| Germany: | Germany |
| of a hardware interrupt). Measurement types and measuring ranges |
|
| The following table shows the measurement types, the measuring range and the possible channels. |
|
| Table 5- 3 Measurement types and measuring rangeThe analog on-board I/O is set to voltage output type and output range ±10 V as default for |
the outputs. If you want to use another output range or output type, you need to change the
parameter settings of the analog on-board I/O in STEP 7 (TIA Portal).
Output types and output ranges
The following table shows the output type and the corresponding output ranges.
Table 5- 4 Output type and output rangesYou specify the properties of the analog on-board I/O during parameter assignment with
STEP 7 (TIA Portal). The tables below list the parameters that can be set for inputs and
outputs, respectively.
When parameters are assigned in the user program, they are transferred to the analog onboard
I/O via data records with the WRREC instruction, see section Parameter assignment
and structure of the parameter data records of the analog on-board I/O (Page 166)) All parameters can be set channel-selective
2) Kelvin (K) is only possible for the "Standard range" measuring range and not for the "Climatic range" measuring range
3) The interference frequency suppression must have the same value for all active input channels. This value can only be
changed through reconfiguration in RUN with single channel parameter assignment (data records 0 to 4) if all other input
channels are disabled.
Table 5- 7 Configurable "Hardware interrupt" parameters
Parameters 1) Value range Default Reconfiguration in RUN
Hardware interrupts
• Hardware interrupt low limit 1 Yes/No No Yes
• Hardware interrupt high limit 1 Yes/No No Yes
• Hardware interrupt low limit 2 Yes/No No Yes
• Hardware interrupt high limit 2 Yes/No No Yes
1) All parameters can be set channel-selective
You can find an overview of the limits for the hardware interrupts in the section Structure of a
data record for input channels of the analog on-board I/O (Page 166).Wire break 2) Yes/No No Yes
• Short-circuit to ground 3) Yes/No No Yes
• Overflow Yes/No No Yes
• Underflow Yes/No No Yes
1) All parameters can be set channel-selective
2) Only for the "Current" output type
3) Only for the "Voltage" output typeSee section Output type and
output ranges of the analog
on-board I/O (Page 121)
Voltage Yes
• Output range ±10 V Yes
• Reaction to CPU STOP • Turn off
• Keep last value
• Output substitute value
Turn off Yes
• Substitute value Must be within the permitted
voltage/current output range.
See "Valid substitute value for
the output range" table in the
section Structure of a data
record for output channels of
the analog on-board I/O
(Page 172)The diagnostics for short circuit to ground can be configured for the voltage output type.
Short-circuit detection is not possible for low output values. The output voltages must
therefore be under -0.1 V or over +0.1 V.
Wire break detection
The diagnostics for wire break can be configured for the current output type. Wire break
detection is not possible for low output values; the output currents must therefore be below -
0.2 mA or above +0.2 mA.You specify the properties of the digital on-board I/O during the parameter assignment with
STEP 7 (TIA Portal). The tables below list the parameters that can be set for inputs and
outputs, respectively.
When parameters are assigned in the user program, they are transferred to the digital onboard
I/O via data records with the WRREC instruction, see section Parameter assignment
and structure of the parameter data records of the digital on-board I/O (Page 175).
The use of a digital input by a technology channel
When a digital input is in use by a technology channel (HSC, PTO or PWM) the
corresponding digital input channel remains fully usable without any restriction.
Use of a digital output by a technology channel
When a digital output is in use by a technology channel (HSC, PTO or PWM) the following
restrictions apply to the use of the corresponding digital output channel:
● Output values for the digital output channel are not effective. The output values are
specified by the technology channel.
● The CPU STOP behavior configured for the digital output channel is not effective. The
reaction of the output to CPU Stop is specified by the technology channel.
● With activated value status (Quality Information) for the DI16/DQ16 submodule, the QI-bit
for the digital output channel shows the value 0 (= Status "Bad").
● The current state of the digital output is not returned to the process image output. In the
PTO operating mode, you can only observe the switching operations of the assigned
digital outputs directly at the output. In the PWM operating mode and with high-speed
counters (HSC), you can observe the current state additionally via the feedback interface.
Note, however, that high frequencies may no longer be observed under certain
circumstances due to an excessively low sampling rateWhen the digital output is controlled by a
technology channel (HSC, PTO or PWM),
this parameter is not effective. In this case
the technology channel specifies the reaction
of the digital output to CPU STOPThe CPU has three LEDs for displaying the current operating mode and diagnostics status.
The following table shows the meaning of the various combinations of colors for the
RUN/STOP, ERROR and MAINT LEDs.There is no Ethernet connection between the PROFINET interface of the PROFINET device
and the communication partner.
No data is currently being sent/received via the PROFINET interface.
There is no LINK connection.
LED flashes green
The "LED flashing test" is being performed.
LED lit green
There is an Ethernet connection between the PROFINET interface of your PROFINET device
and a communication partner.
LED flickers yellow
Data is currently being received from or sent to a communications partner on Ethernet via
the PROFINET interface of the PROFINET deviceThe CPU is switched to "STOP" mode using the STOP button.
• As long as the STOP ACTIVE LED is lit up, switching the CPU to RUN mode is only
possible using the RUN button.
• The CPU can then no longer be set to RUN mode via the display operation or via online
functions. The state of the buttons is retained at power-off. If the CPU does not start up
automatically after a power-on, you have to keep the STOP button pressed during startup
until the STOP ACTIVE LED is activated.
• If an automatic start-up is to be reliably prevented after a power-up, the STOP button has
to be kept pressed during the start-up of the CPU until the STOP ACTIVE LED is activated.
LED off
• The CPU is set to "STOP" mode using the display or programming device and not with
the STOP button on the device.
• The CPU is in RUN mode.The following tables explain the meaning of the status and error displays. Corrective