 |
| Place of Origin: | Japan |
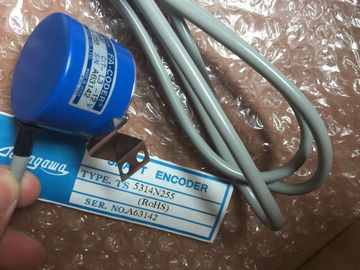
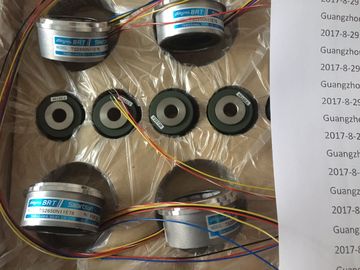
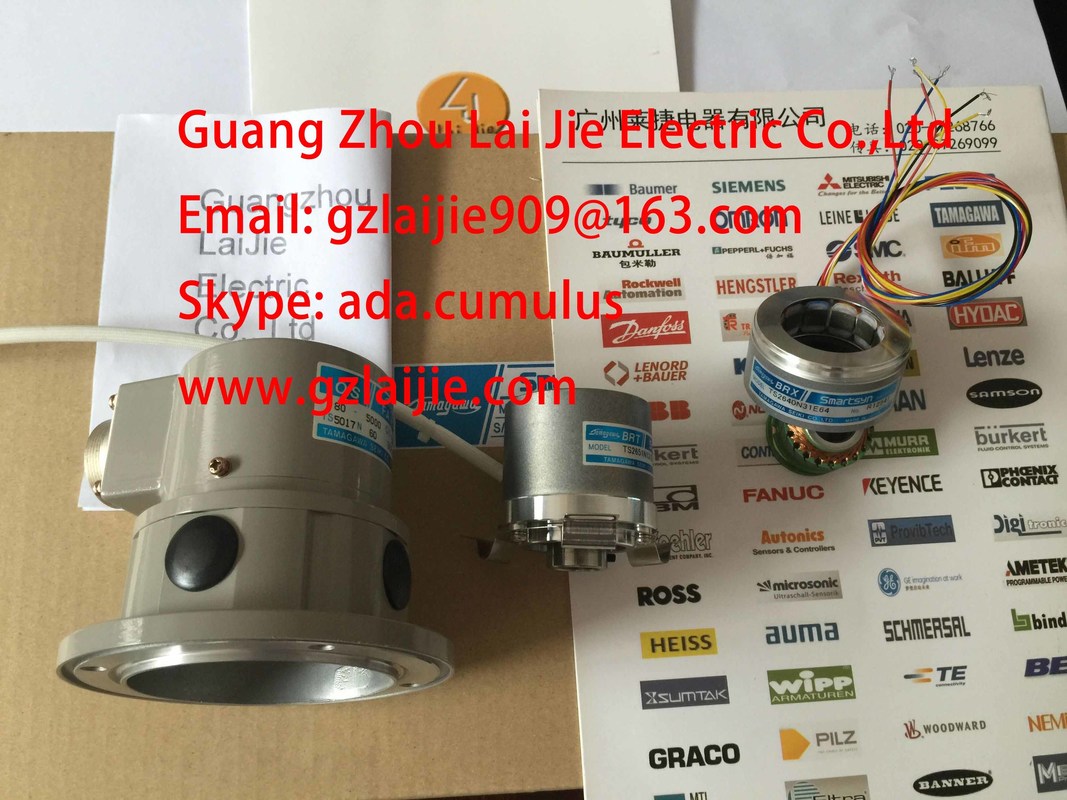
| Brand Name: | Tamagawa |
| Certification: | TS2651N111E78 |
| Model Number: | TS2651N111E78 |
| Minimum Order Quantity: | 1pcs |
|---|---|
| Packaging Details: | carton |
| Delivery Time: | in stock |
| Payment Terms: | T/T, Western Union, MoneyGram |
| Supply Ability: | 100pcs/week |
| Tamagawa: | Tamagawa | TS2651N111E78: | TS2651N111E78 |
|---|---|---|---|
| Color: | Black | Material: | Iron |
| Temperature: | 20-130 | Wire: | Wire |
| Japan: | Japan |
TS3103N156
TS2651N111E78
TS5213N510
TS2014N181E32
TS5308N616
TS3462N1E76
TS5214N561
TS5214N510
TS2014N182E32
TS3653N2E5
TS5320N510
TS5016N-60
TS5016N60
TS2651N111E78
TS2014N181E32
TS2651N131E78
TS2651N141E78
TS5214N566
TS5205N450
TS5308N616
TS3462N1E76
48-2500P8-L6-5V
TS5214N561
TS5214N510
TS2014N182E32
TS3653N2E5
TS5320N510
TS5016N-60
TS5016N60
TS2651N111E78
TS2014N181E32
TS5013N60,
TS5013N61,
TS5016N60,
TS5017N60,
TS5013N68,
You access the navigation area of an editor or a function with the navigation bar. The navigation area displays the tree view of the selected editor or the selected function. Select an element from the tree view in the navigation area to display the corresponding data records in the data area.
You can access all available editors and functions by means of buttons in the navigation bar
You access hidden buttons with a mouse click on the corresponding symbol in the bottom part of the navigation bar.
You use the drop-down menu in the bottom part of the navigation bar to show or hide buttons in the navigation bar. 1. Click on the symbol for the drop-down menu.
The drop-down menu opens. 2. Select "Show additional buttons" to show buttons. Or: Select "Show fewer buttons" to hide buttons.
Click the required editor in the navigation bar or select "Open" from the shortcut menu
To open a required editor in a new window, open the shortcut menu of the editor in the navigation bar. 1. Right-click on the required editor in the navigation bar. 2. Select "Open in new window" in the shortcut menu. The editor opens in a new window.
You must release the editor after finishing your work so that other users can work with the editor in a project. 1. Right-click on the editor in the navigation bar. 2. Select "Release" in the shortcut menu. The editor is released. Other users can now edit the data in the project
Select the top element from the tree view ( for example ""Tag Management") to display all configured data records of the editor or the function in the data area. Show structured data records The structured display of the data records in the tree structure depends on the selected editor.
You can copy, paste, and delete elements in the tree view of the navigation area.
You can copy the element to the clipboard by selecting it from the tree view and clicking "Copy" in the shortcut menu. Alternative procedure: Select the element and then press the keystroke 2. You paste the element to the corresponding position by selecting the element below the paste position and clicking "Paste" in the shortcut menu. Alternative procedure: Select the element below the paste position and then press .
Select the element to delete in the tree view and then click "Delete" in the shortcut menu to delete it. Alternative procedure: Select the element to delete in the tree view and press the key.
Click this button to select all displayed data records in the data area. ② Title bar of the data area Indicates the directory that stored the displayed data records. ③ Column headers The data records are sorted in the data area by information type, e.g. name or data type. You can sort/filter the data records based on this information and hide/show selected columns. ④ Line number Consecutive numbering of the lines.
![]()
![]()
![]()
| The following options are available in the data area: | Filtering, finding, copying and importing data records |
| ● Entering and changing data in the respective editors | |
| Configuring structure types |
All inputs and changes in the data area become effective without saving and have an immediate effect in Runtime.
The data area contains two cell types: ● Cells for text input (or text display) ● Cells with check box input (or check box display) Cells can be edited, or are read only. There are two types of read only cells: ● Cull write protection (e.g. ID, last change, etc.) ● Context-dependent write protection (e.g. address of internal tags) Text input cells can be distinguished based on their data type and available input options.
You can enter data in the data area in three different ways: ● Input in the text field ● Drop-down list ● Automatic continuation ("drag-down") An additional input dialog is provided for cells of the "Address" column, see Data input help by means of dialog.
You can use the text field to enter data in the data area. Several data types are available for the text fields:
All entries, except line break Multi-line text All entries Unsigned integer Numerical input only Signed integer Input of numbers and characters "+" and "–" Floating-point number Input of numbers, characters "+" and "–", decimal point, and the "e" or "E" character for exponential notationAll entries, except line break Multi-line text All entries Unsigned integer Numerical input only Signed integer Input of numbers and characters "+" and "–" Floating-point number Input of numbers, characters "+" and "–", decimal point, and the "e" or "E" character for exponential notation
● WinCC DataGridControl validate compliance with data input restrictions and rejects incorrect entries. Users are informed accordingly by means of tool tip. ● Specific cells are subject to additional input restrictions on character basis. Data typedependent limitations are checked by the WinCC DataGridControl at the time data is entered; invalid entries are rejected. Users are informed accordingly by means of tool tip
Select the table cell for text input. 2. Enter the text in the cell
You can select the cell data from a drop-down list. A drop-down list is offered for the following columns: ● Data type ● Format change